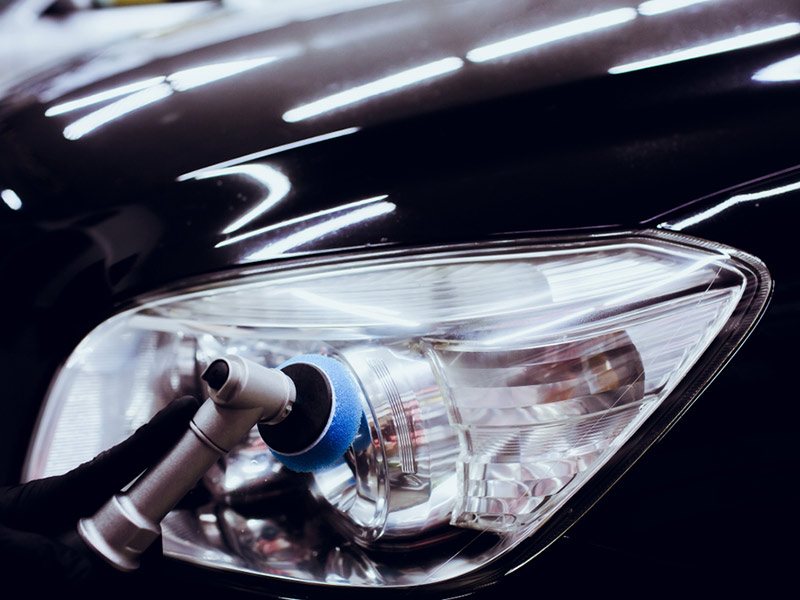
Headlight Restoration
We’ve all witnessed car headlights becoming foggy haze lamps. Not only does it look bad, but it’s also unsafe because it can produce the right amount of light. You can buy a new headlight, but for modern cars, you can plan on paying a couple of hundreds of dollars for a replacement.
We’re Going to Take You Through a Few Simple Steps to the Restoration of a Headlight.
Depending on the condition, you can probably get it back to 90 percent of the new look. If your headlight has some pretty severe damage, It could have been hit with something if you notice deep gouges across the light. For this condition, you’re going to need at least several steps of wet sanding followed by several stages of machine polishing. You also want to tape all around the headlight to protect any seals or trim as well as painted parts.
If you notice that the lens has only a mild haze to it, you should try just polish rather than having to use wet sand. You can start with sandpaper. Just start like any wet sand project, go in one direction first, and then try alternate routes as you move up through the different levels of paper (cross-hatching).
Also, try straight passes. It depends on the type of headlight. Then vertical passes. You will feel as the edges become sharper. After about five different grits of paper, we recommend a switch to a rotary buffer to take out the sanding haze and to polish out the finish.
Now, this is all the info for the DIY approach, but we highly recommend professional help. Use a wool pad with some effective polish. There are many on the market from Menzerna Power Gloss to Optimum Hyper Compound.
Once more, use the pad with some super-finish polish compound.
If the light is hit with some force, it had micro-fractures all through the lens that was well below the surface and obviously couldn’t be corrected. When you finish, it will have probably 70-80 percent of the new look. Headlights will be almost like new.
One crucial thing to remember is that the headlights typically get to this point after they’ve lost their UV protection. It depends on the model and the year. Once you polish it out, you’ll need to give it a light polish now and then to prevent the haziness from returning. You can do this easy maintenance by yourself.
On the other hand, if you don’t have time, or you have some questions, we are always at your disposal. There are headlights witch prefer certain types of polish, also if you don’t feel safe with rotary buffer don’t do it. It’s not just about getting the right work; it’s always about safety for us.
During the Christmas holidays, stay careful and safe, and if you think that you need a second opinion, our experts will get you back on the road in no time. You step away from professional installation and help. Call us 480.400.7962 24/7 emergency service!

Are you one of those vehicle owners that fell for common auto glass myths? You’re not alone. Getting advice on auto glass from various sources…
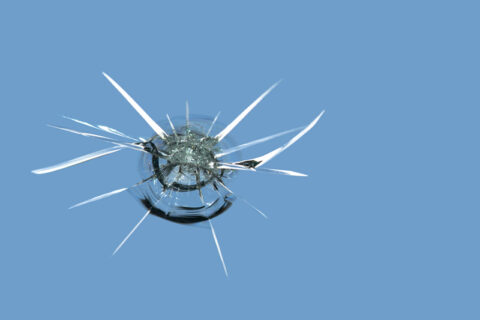
Rock chips or small damages can occur to windshields often. Other cars driving on the road with you can flip up rocks or debris, even…